For Mac

WetPrint

A darkroom without the dark.

Bring a photograph into the tray and make it your own. Brush on developer, pull back the highlights, layer toner, scrape the emulsion, and watch chemistry flow, pool and dry across the paper. This isn’t a filter. It’s a print you work by hand—and no two come out the same.

macOS 13 or later · Apple silicon (M1 or later)
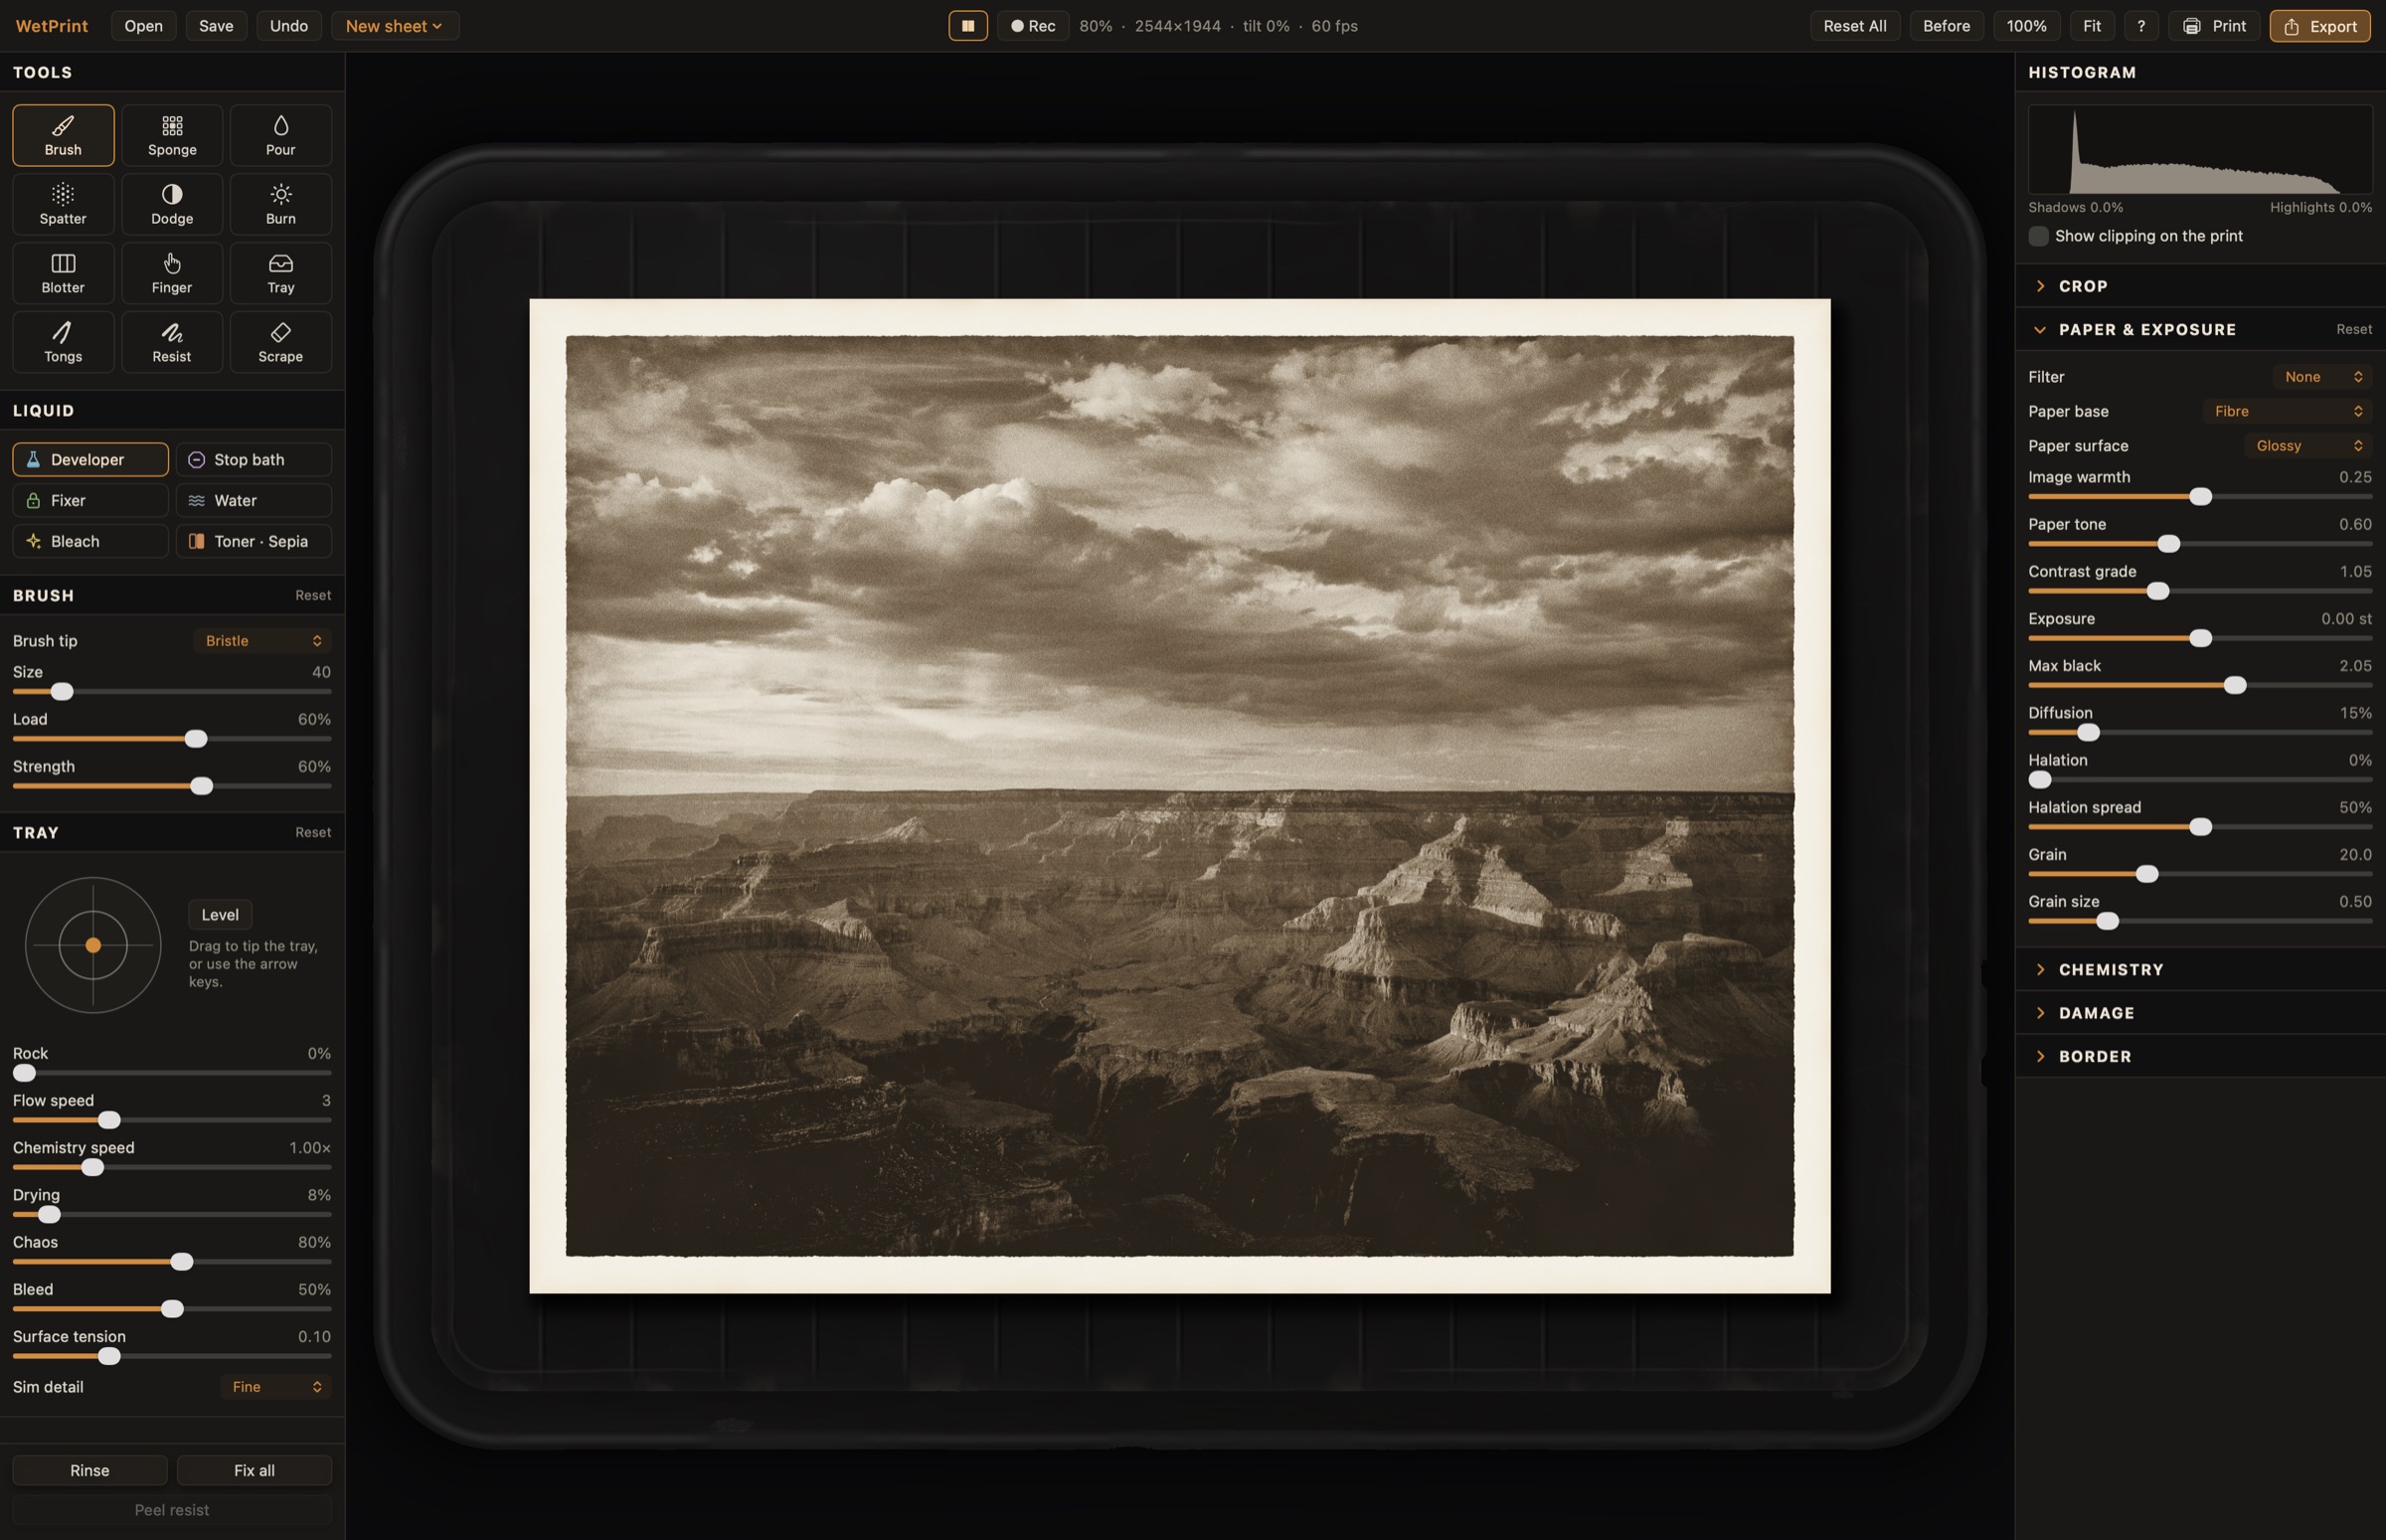
WetPrint's window: a sepia-toned print of the Grand Canyon lying in a darkroom tray, with the tools on the left and print settings on the right

It isn’t a filter. You don’t choose an effect and move on. You brush, pour, tip the tray, lift the bleach and build the image one gesture at a time. The liquid leaves its mark. The paper keeps the evidence. The print becomes a record of what you did.

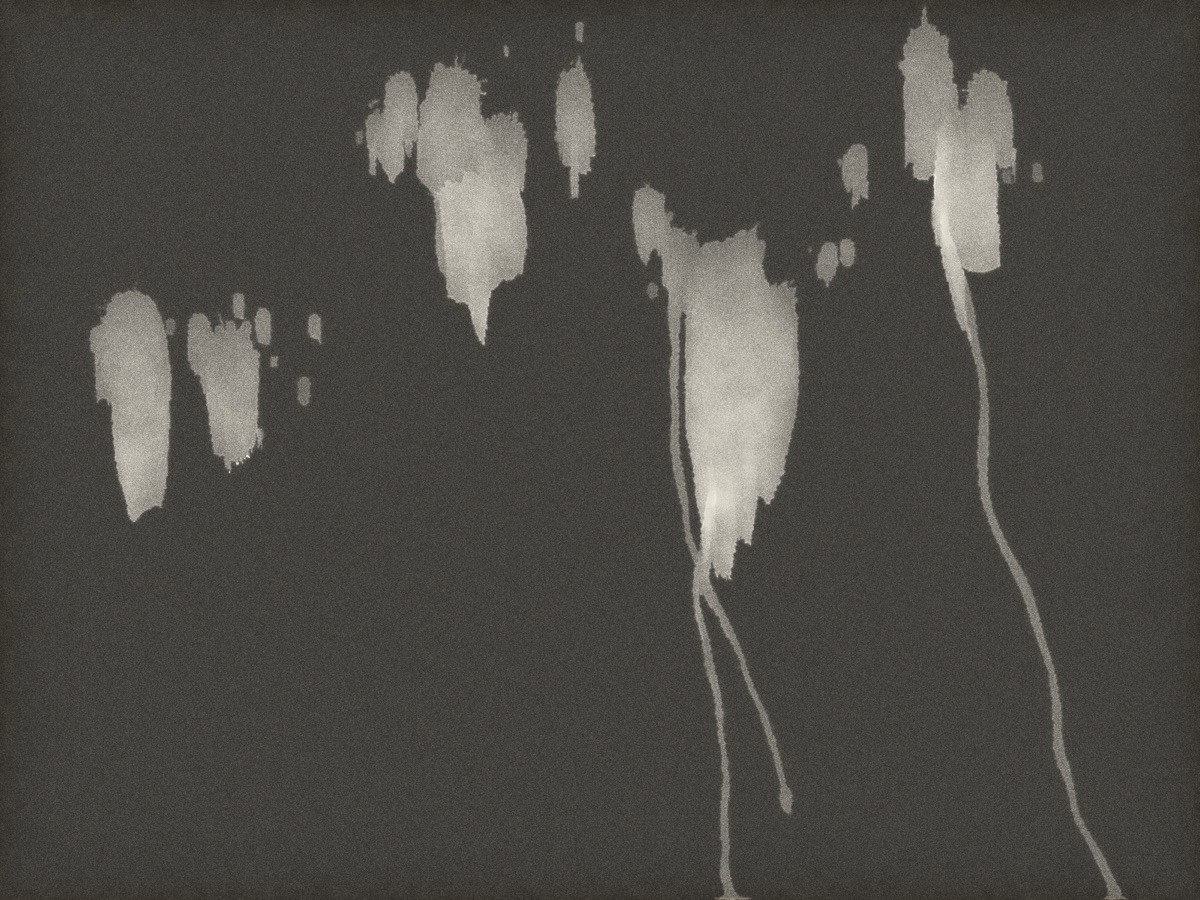
Developer brushed across the top of a sheet, running down in drips as the tray is tipped
Liquid

Watch the chemistry move

Tip the tray and the chemistry follows. It runs downhill, gathers at the low edge, beads on the surface and breaks into drips when there’s more liquid than surface tension can hold. Every drop has weight, movement and a path of its own.

  • Puddles gather into rounded edges instead of fading flat
  • Liquids have their own character: fixer moves slowly; caffenol wets the paper readily
  • Rock the tray or tune the surface from easy-wetting to beading
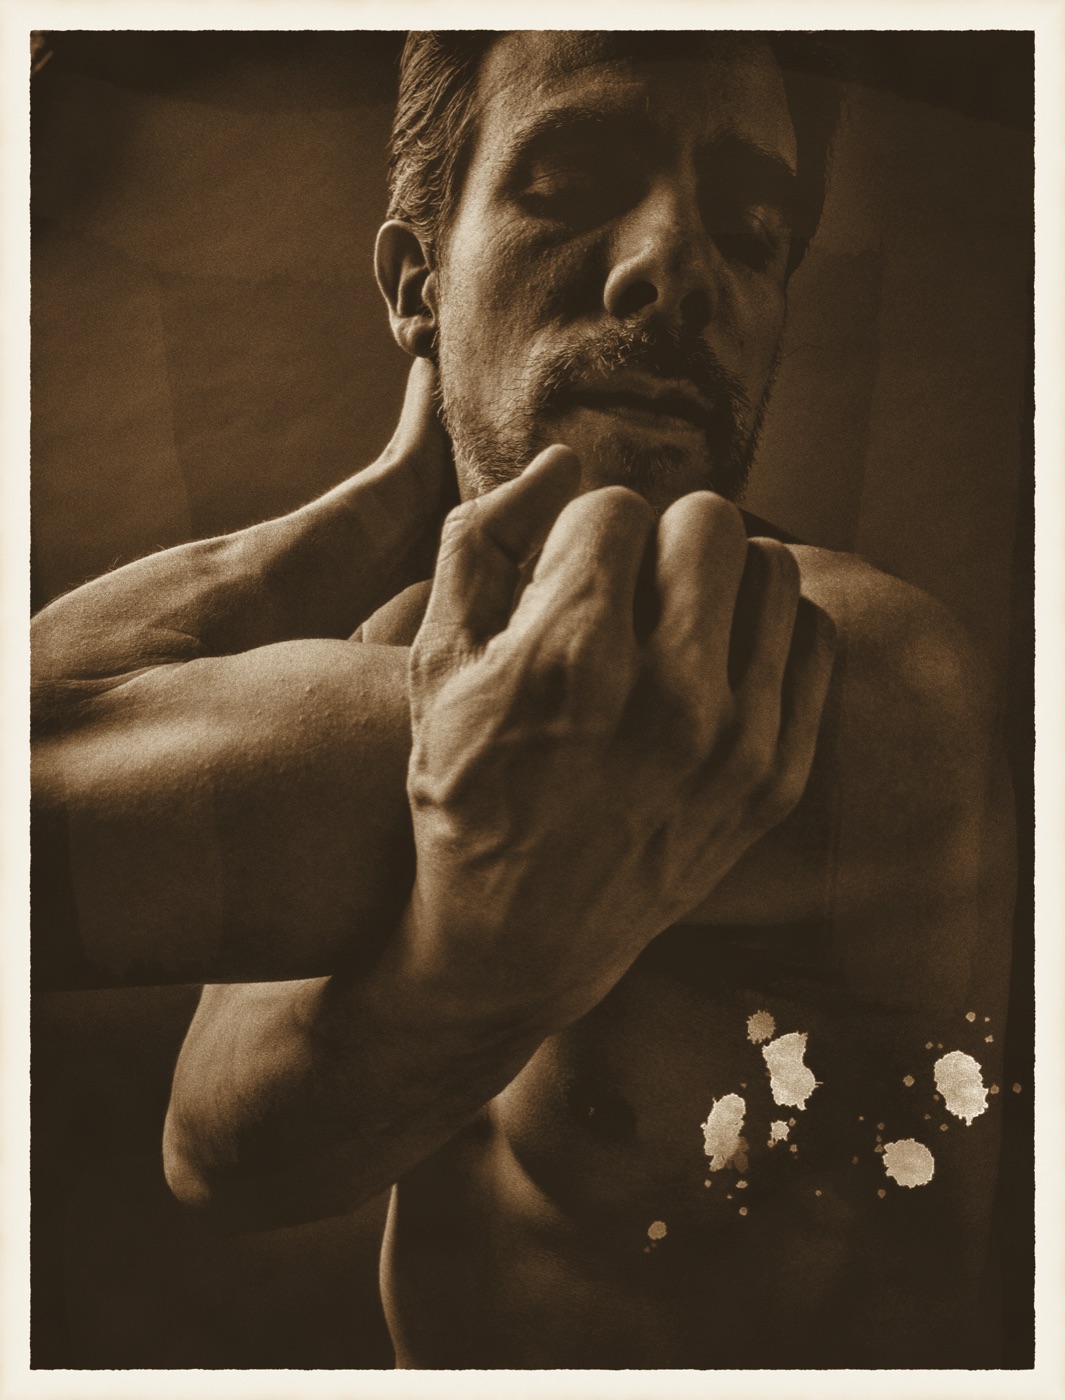
A portrait bleached, rinsed and sepia-toned, with bleach spattered across one corner
Chemistry

Every bath has a purpose

Developer brings the image up. Stop bath halts development. Fixer makes the print permanent. Bleach takes the silver back, beginning with the highlights, so toner can bring it back in another colour. The sequence matters—and in WetPrint, each liquid does its own work.

  • Developer, water, fixer, bleach, toner and stop bath
  • Nine developers: standard, lith, amidol, warm, cold, pyro, exhausted, caffenol, two-bath
  • Time moves in seconds, while the chemistry follows the logic of a real print
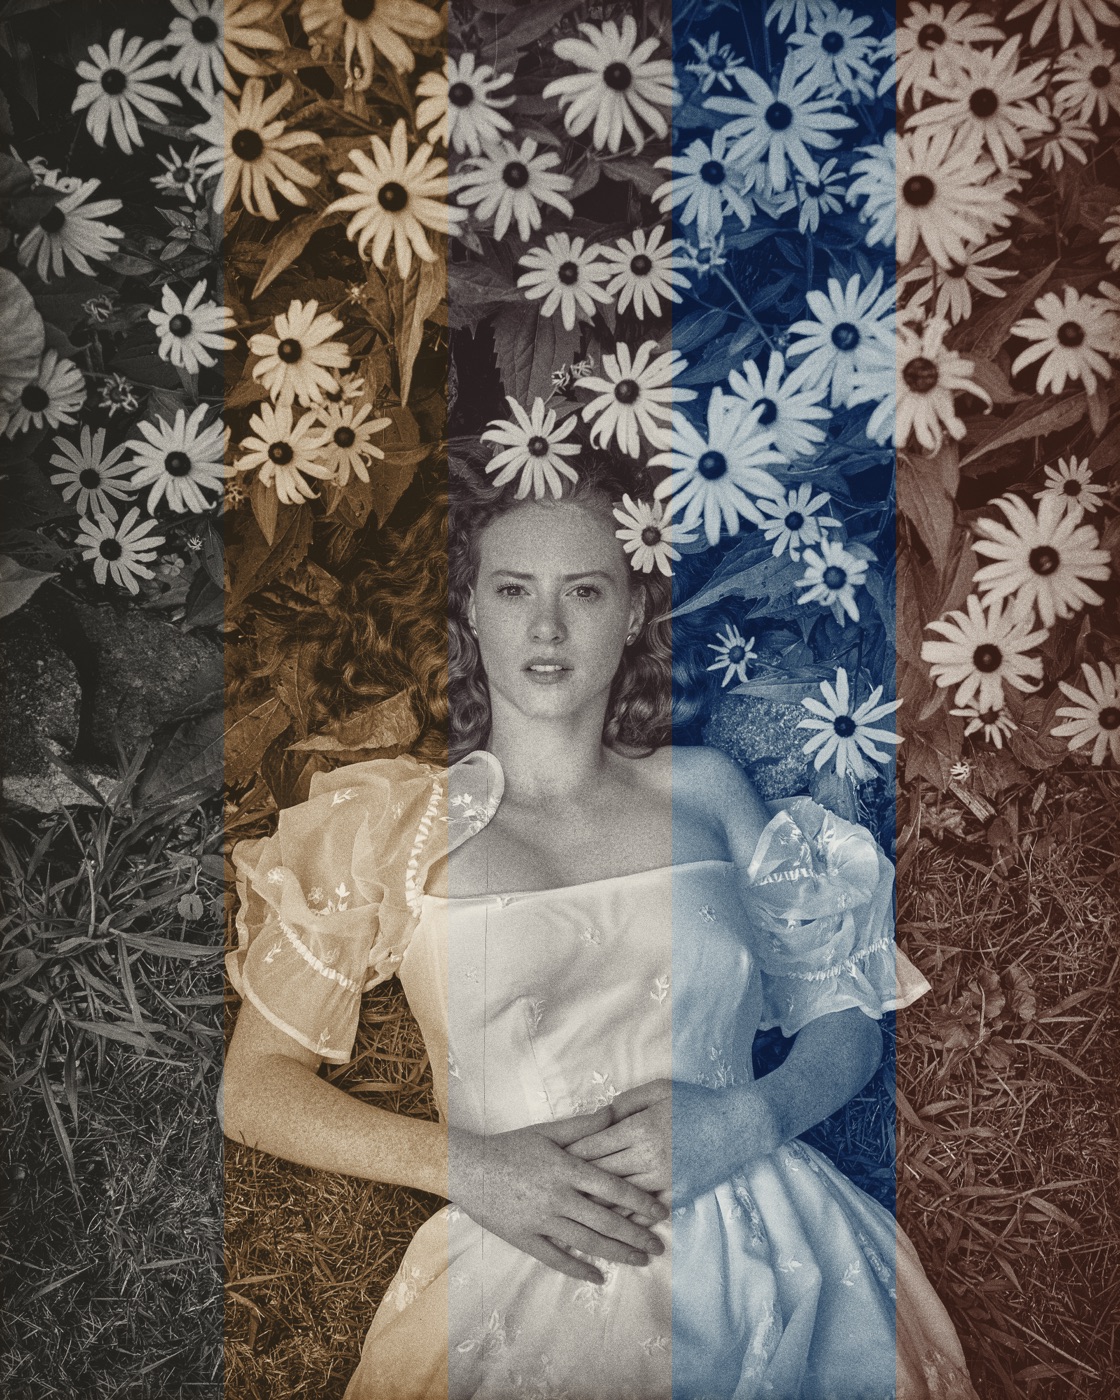
A toner test strip: one portrait in five bands, untoned, sepia, selenium, cyanotype and copper
A test strip: untoned · sepia · selenium · cyanotype · copper
Toning

Colour built into the silver

Sepia warms the highlights. Selenium deepens the shadows toward purple-brown. Gold shifts the image toward blue-black. Split toning lets different colours settle into different tones. Brush a toner exactly where you want it, or lower the whole print into a bath.

  • Eight toners: sepia, selenium, gold, split, cyanotype, copper, vanadium, and a tea or coffee stain
  • Tannin stains pool and deepen where the liquid sits
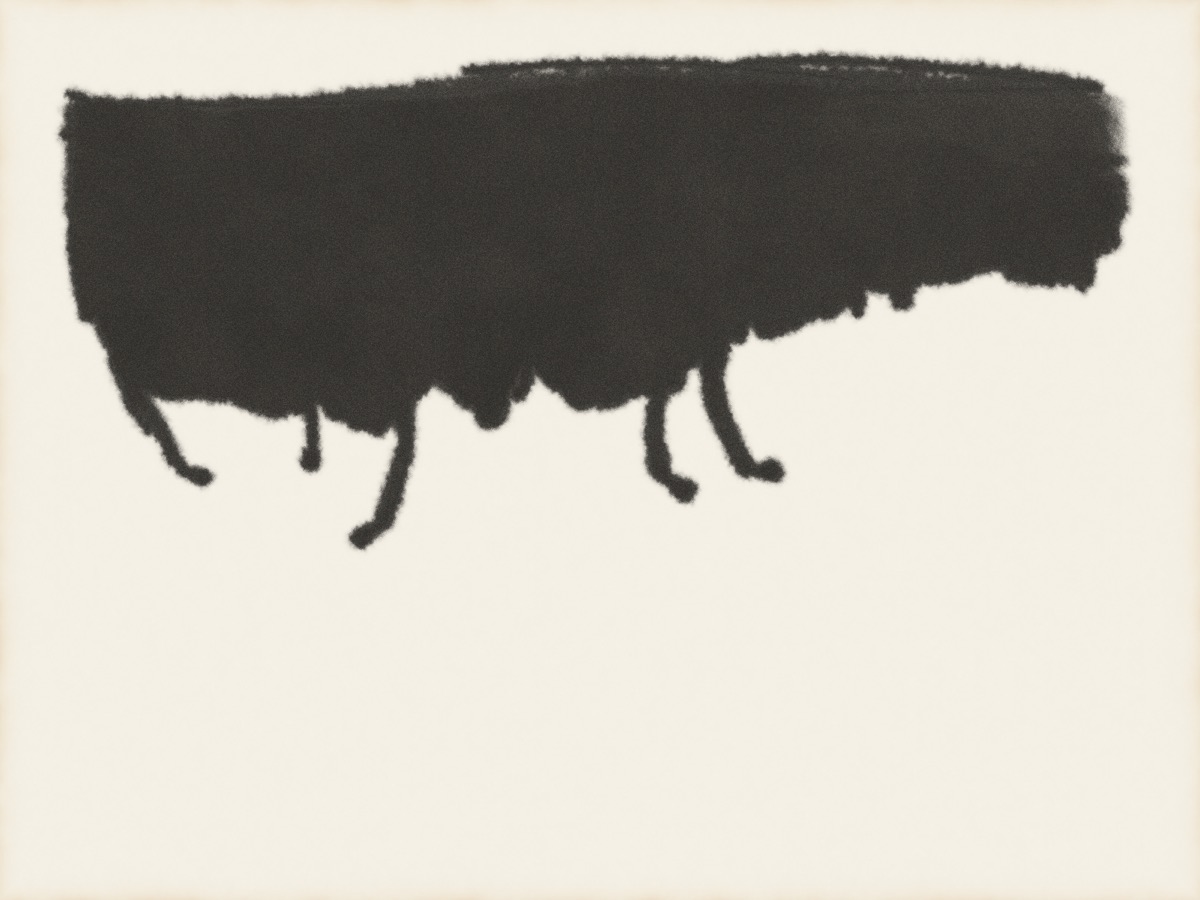
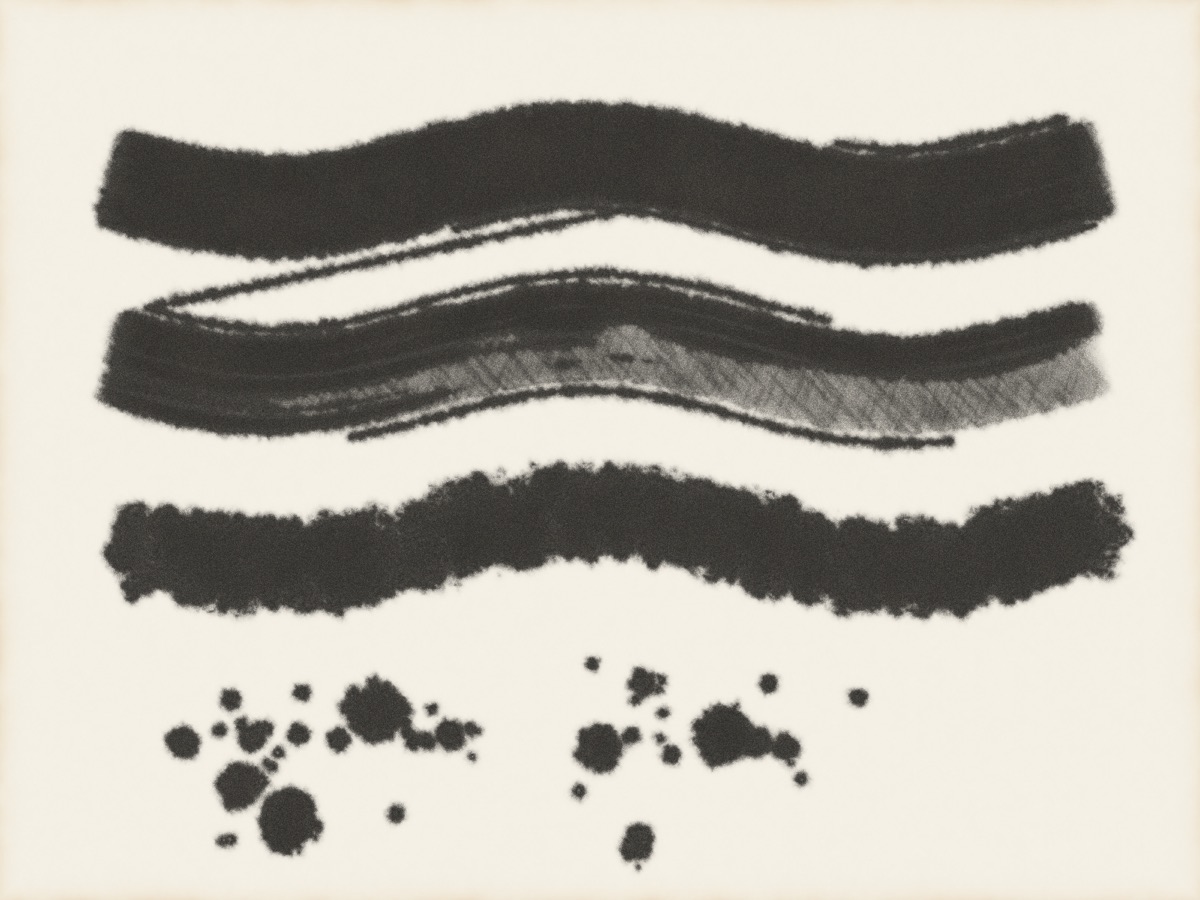
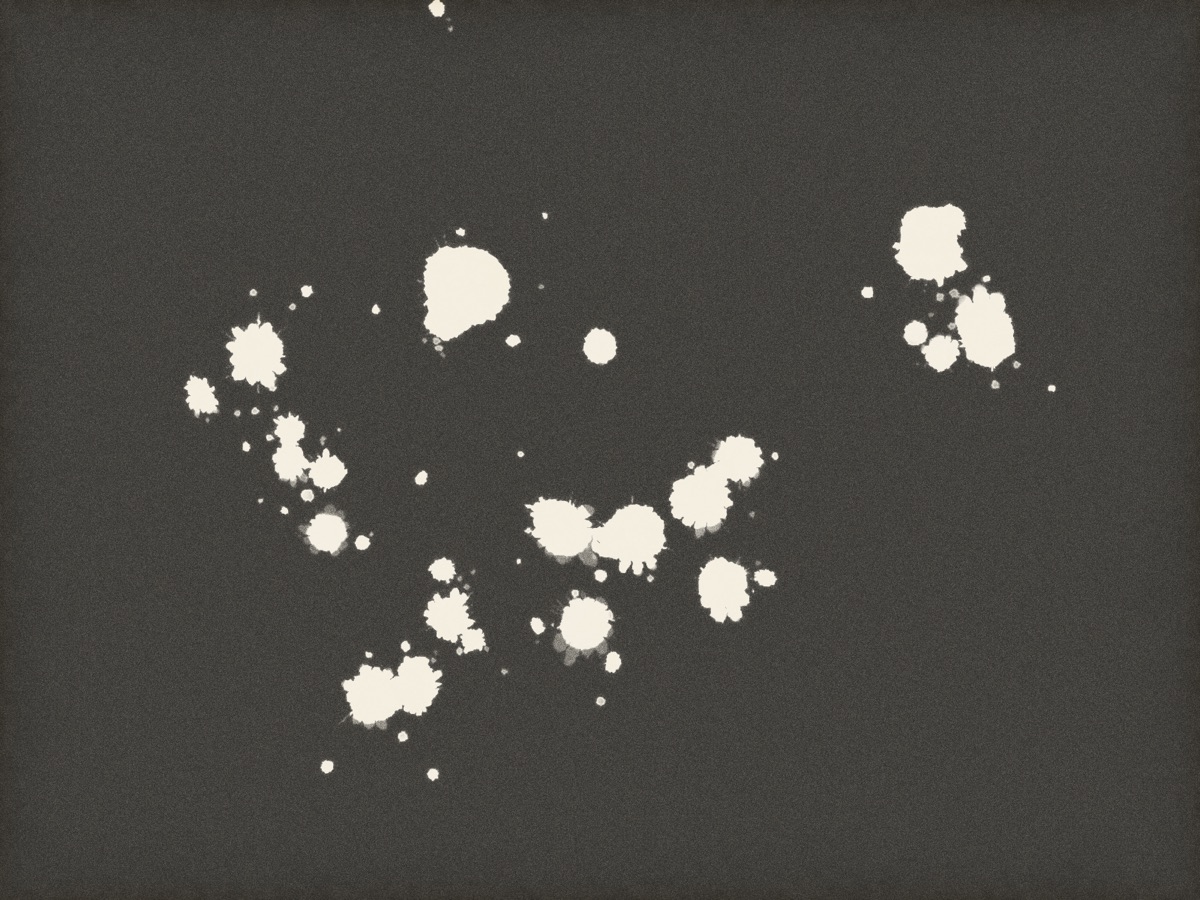
Four brush tips: bristle, light bristle, heavy bristle and soft, plus spattered drops
Tools

Make a mark. Then make another.

Brushes leave streaks and dry-brush edges. A sponge makes mottled washes. Pour from a jug, flick spatter across the sheet, press a blotter to lift liquid back out, or leave a fingerprint behind. With a pressure-sensitive pen, a stroke can swell and thin like a real hand at work.

  • Brush, sponge, pour, spatter, blotter, dodge and burn, light pen, finger, tray, tongs, wax resist, scraper
  • The scraper sands or blades the emulsion back, and on into the paper's fibres
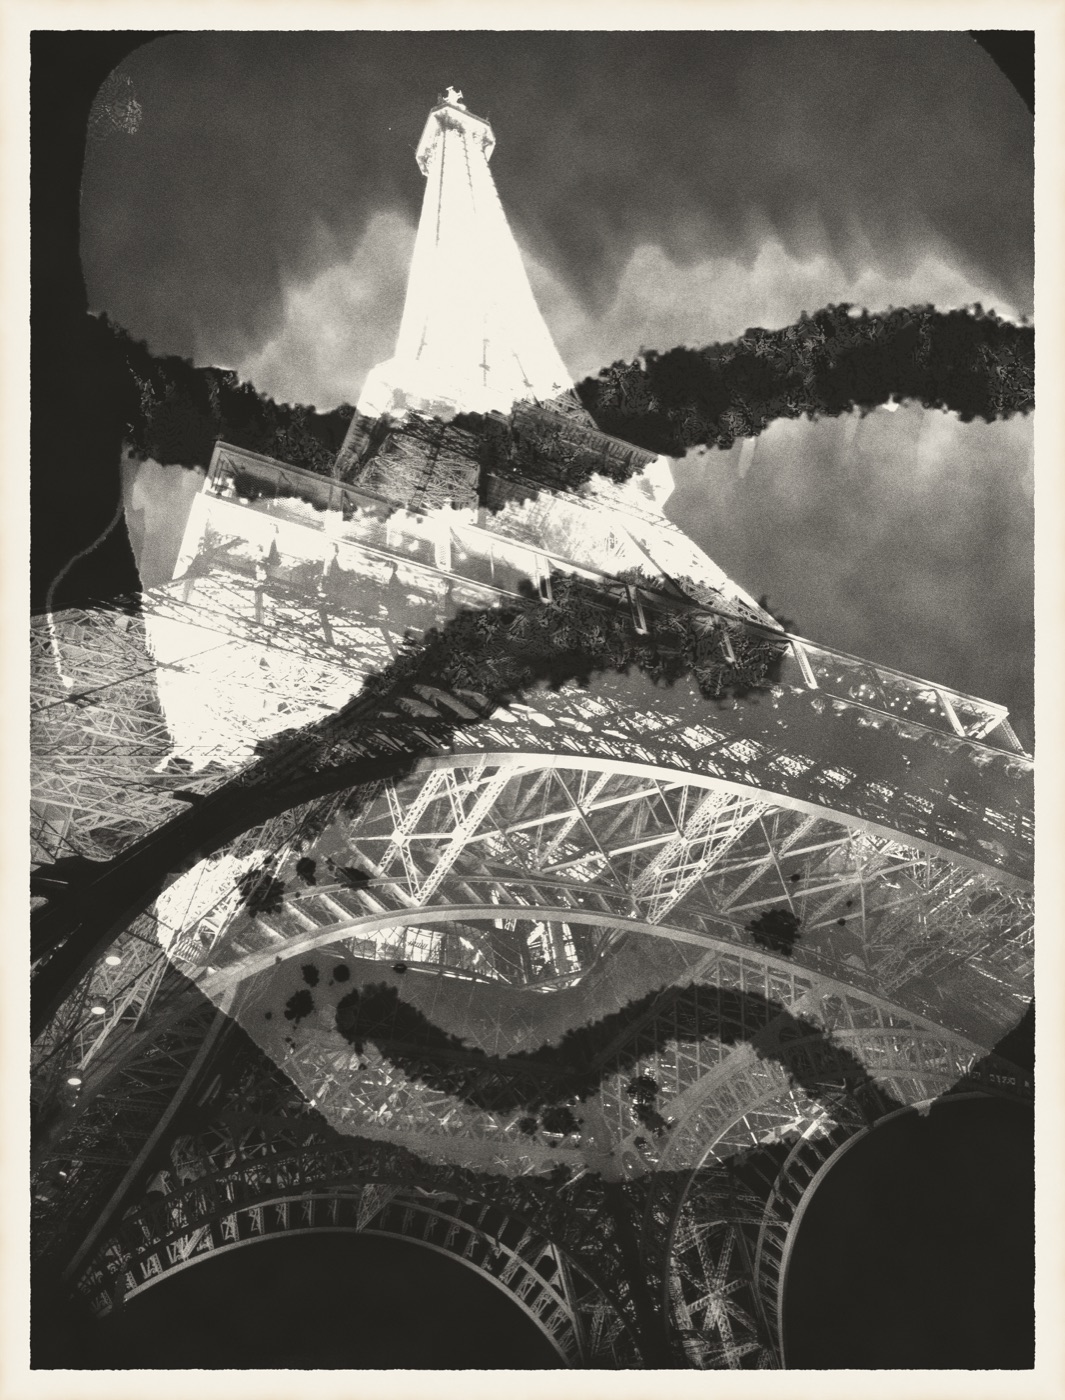
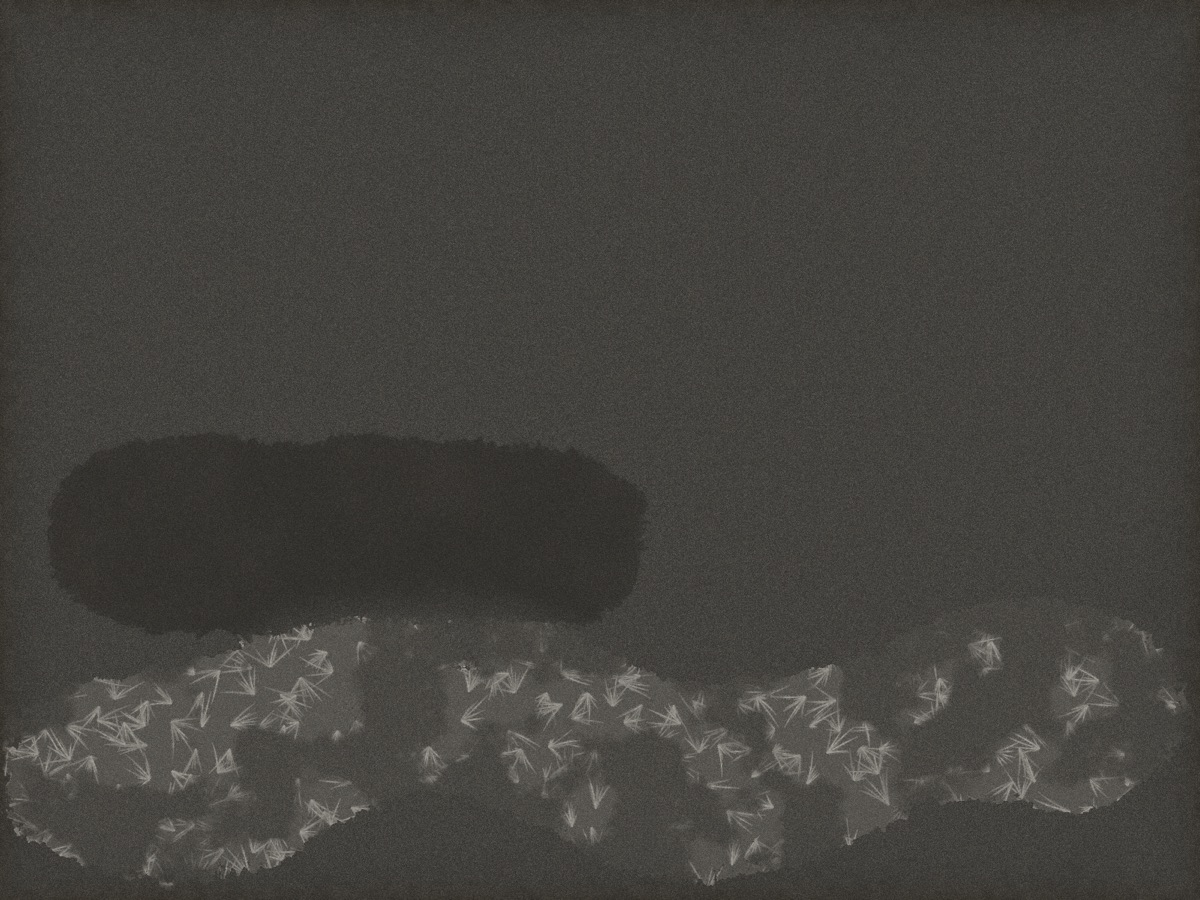
A chemigram on a print of the Eiffel Tower: bleach run around brushed wax, developer spatter, the wax peeled away
Experimental

Follow the happy accidents

Paint on wax and watch the chemistry travel around it; peel the wax away to reveal untouched paper. Draw with light during development for a Sabattier reversal and its pale Mackie lines. Or start with blank exposed paper and bring the image up only where you brush on developer. Experiment first. See what happens.

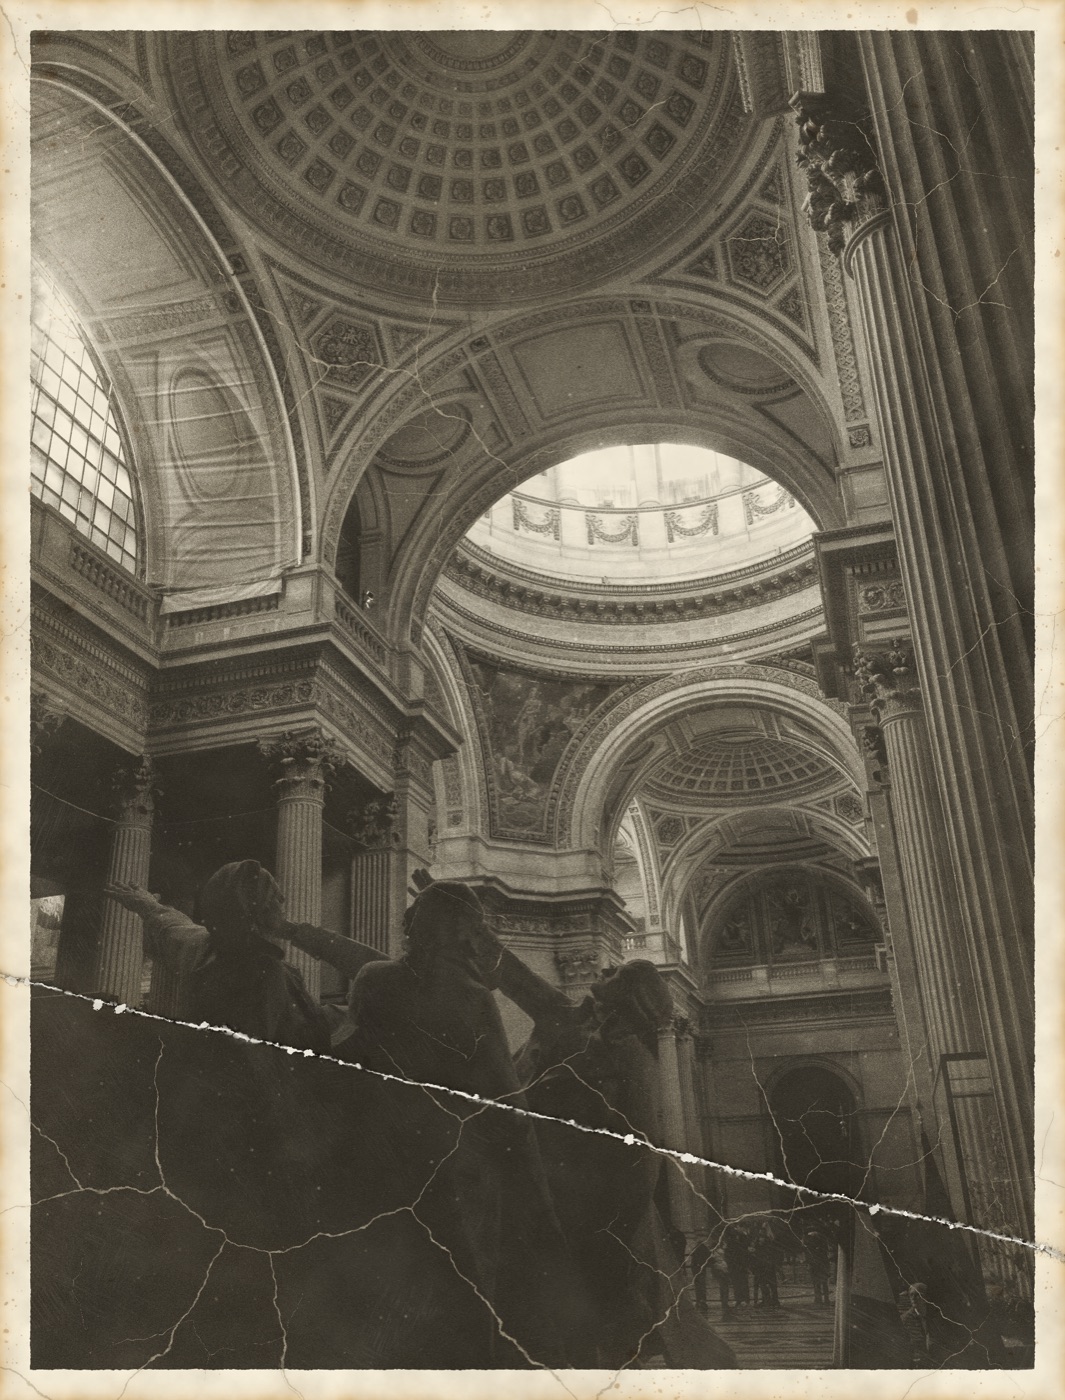
A print of the Pantheon aged with a cracked crease, crackle, foxing, fading, grime and stained edges
Age & damage

Give the print a past

Fold the sheet and the emulsion cracks along the crease. Grime gathers; worn areas reveal the paper beneath. Add crackle, foxing, oxidised edges, silver fading and the mottled patina of a photograph passed from hand to hand. Dial in a little age—or let the damage tell the story.

  • Crease depth, age and damage; crackle; dust and scratches
  • Foxing, fading, grime, edge staining
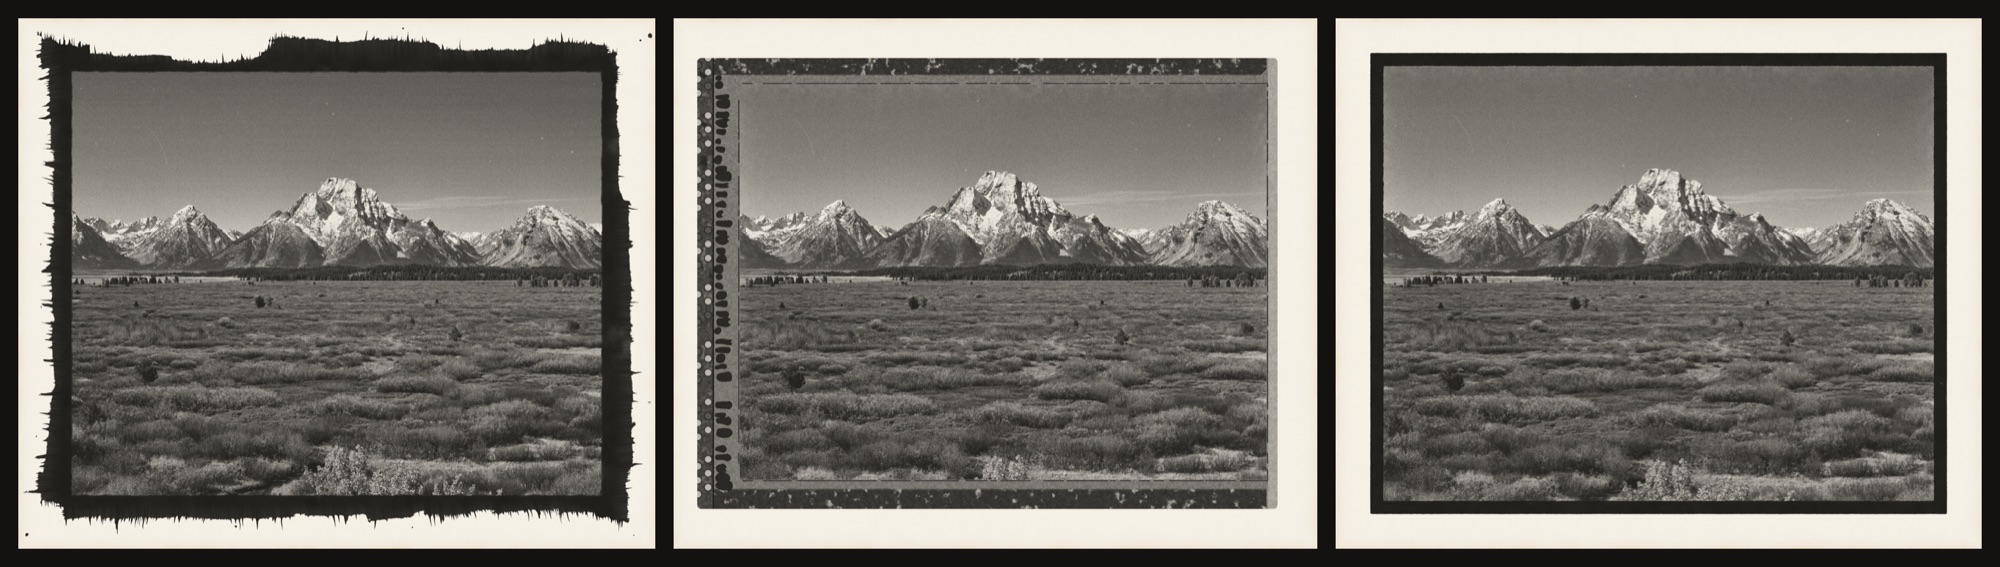
The same print with three edges: hand-coated emulsion, a Type 55 rebate and a filed-out carrier
Hand-coated · Type 55 · filed carrier
Edges & paper

The paper is part of the picture

Fibre paper draws chemistry inward, leaving soft, feathered edges. Resin-coated paper holds it closer to the surface for sharper marks. Choose glossy, semi-matte or matte; warm or cool paper; then frame the image with a brushed emulsion edge, hand-coated paper, a filed carrier or the rebate of a sheet of film.

The simulation

Not a texture. A working model.

A stain texture can only sit on top of a photograph. WetPrint models the paper, the liquid and the emulsion beneath it. The image you see is the result of those systems interacting—not an overlay added at the end.

01

Liquid with momentum

The liquid on the sheet is a shallow-water simulation: depth, flow and momentum on a fine grid, pulled by gravity as the tray tips. Surface tension and a contact angle give it a rounded edge, so drops bead, puddles dome, and drips form only when there's too much for tension to hold.

02

Chemistry that keeps working

Each liquid carries dissolved chemistry. It diffuses through the liquid, soaks into the paper and keeps working there after the surface dries, feathering past the wet edge. Fibre paper drinks it in; RC holds it on top. Thin brushed films dry fast; deep pools stay wet.

03

An image made in the emulsion

Under the liquid is a model of the emulsion: a latent image from your photo, silver that develops at a rate set by the developer's strength and age, bleach that turns silver back to halide, and toners that convert it. Density becomes reflectance through the paper's maximum black and surface.

04

Every effect has a cause

Sabattier reversal comes from a flash part-way through development, and Mackie lines from bromide released along tone boundaries. Exhausted developer goes slow, soft and olive. Grain lives in the silver, so clean paper stays clean. Nothing is pasted on.

05

Paper with its own character

Fibre tooth, dust, wax and creases all shape the surface the liquid flows over. Liquid gathers in a fold and in the trough along the paper's edge, runs around wax, and creeps along the grain. Scraping wears through the emulsion, then the baryta, then into the fibres.

06

Built for your Mac

It all runs on the graphics chip with Metal. WetPrint measures your Mac on first launch and sets the detail to suit, and keeps chemistry in real time so it behaves the same on a MacBook Air as on a Mac Studio. Exports and prints always render at full quality.

OpenAny photo: JPEG, TIFF, PNG, HEIC or camera raw.
WorkBrushes, pours and baths; tip and rock the tray.
AgeCrease, crackle, fade and grime, if you want them.
SaveSessions keep the sheet, wet liquid and all.
PrintExport full size, or print edge to edge on real paper.
Everything else

The details make the print

Contrast grades and exposure

Paper grade, exposure in stops, maximum black, and coloured filters on the lens.

Enlarger optics

Diffusion glow, halation, film grain with adjustable size, and silvering in dense blacks.

Real paper sizes

5×7 to 16×20, Letter, A4 and A3, with borders as wide as you like.

Print on your own paper

Edge-to-edge printing on the paper you chose, with your paper's own tone as the white.

Sessions

Save the sheet mid-work, liquid still wet, and pick up exactly where you left off.

A tray to work in

The print lies in a darkroom tray that tips with it, or on a wood table.

Loupe and before view

Hold Z for a 100% loupe; hold \ to compare with the original photo.

Undo

Several steps back, because chemistry is less forgiving than software.

A full manual

Built in and searchable, with every tool, liquid and setting explained.

Coming soon

Get WetPrint

Bring your photograph. Try something unexpected. See what comes up in the tray. WetPrint is coming soon to the Mac App Store.

macOS 13 Ventura or later · Apple silicon (M1 or later)